Before: Model with naturally dry hair.
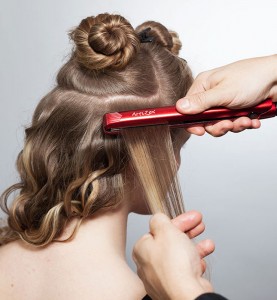
Step 1: Using a parallel section 3″ wide, place the iron plates firmly over the hair. Start from the base and roll downward, rotating the iron 180°, keeping the tension on the full length of the section.
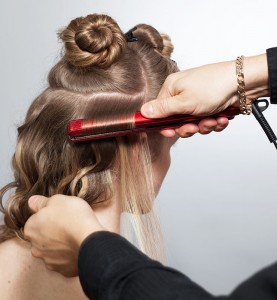
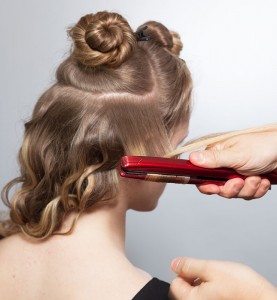
Step 2: After rolling the iron 180° (Artizen logo now underneath), pause with the hair held in for 3-5 seconds, which will “lock-in” the crease and form a wave.
Step 3: Beginning from the same position as step 2, slide the iron 1.5″ down the hair shaft with the iron plates closed, then roll back the iron 180° in the other direction and pause 3-5 seconds to lock-in the next wave crease.
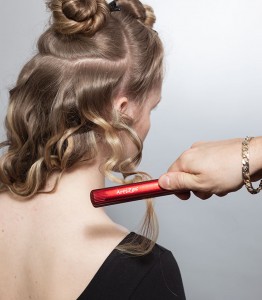
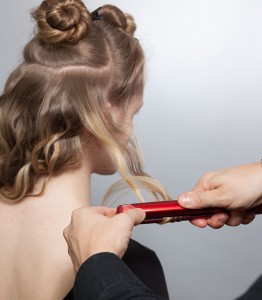
Step 4: After the pause continue to hold the hair firmly between the plates and slide 1.5″ down the shaft, then roll the iron 180°, and pause for 3-5 seconds. If needed, use your other hand to hold the tips of the iron for constant tension.
Step 5: Repeat these steps, rocking the iron with the logo on the top side and then the bottom side which creates the ZEN wave pattern down the complete shaft of the hair.
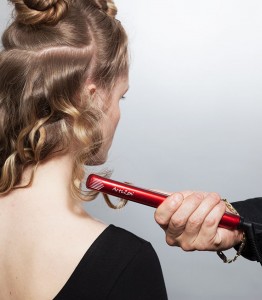
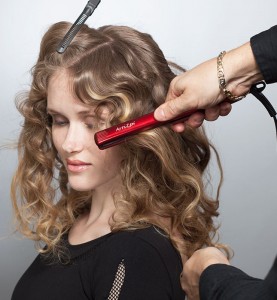
Step 6: When you reach the last 2″ of the hair, slide the hair through the iron while turning it which will result in a curl at the end. Continue sectioning the hair and using the technique from the bottom nape area up to the crown of the head.
Step 7: In the front of the head, start from your chosen part, using the parallel sections from the top of the head to the sides.
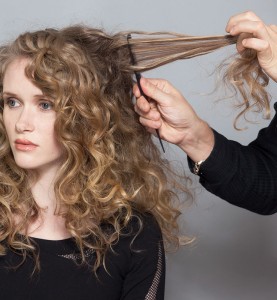
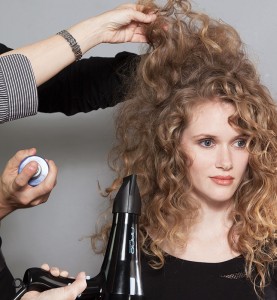
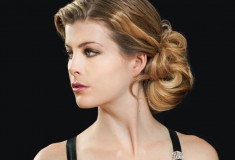
To complete the ZEN wave hairstyle, included in the Artizen “Textural Dance” collection, the hair was backcombed to add volume. To create a strong silhouette, the hair was lifted in various sections and sprayed with a non-aerosol hair spray, followed by the Artizen Nano dryer on low speed. The ZEN wave was invented by Stefan Tricoci and inspired by the Artizen MyStyler iron due to its unique size.
